Best Of
MicroBlocks and HuskyLens - Enjoy the beauty of AI Machine Vision with Blocks
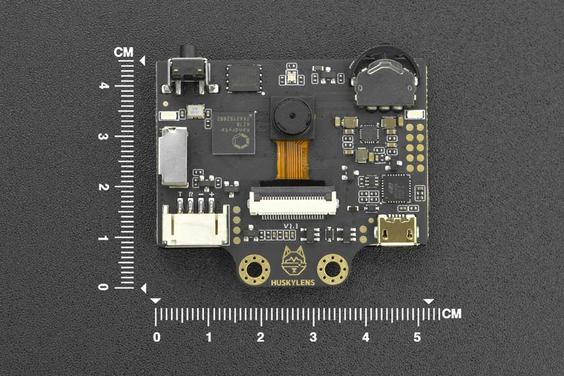
There is hardly any article in the press that does not tout the wonders of the Artificial Intelligence and the wonderful things one can do with it. A popular application of the technology is using cameras assisted by AI Vision algorithms to recognize objects, colors, faces, lines etc. However, when one decides to play around with it, the actual use ends up being a bit cumbersome for beginners, involving rather complex libraries, development environments, and unintuitive coding.
But with MicroBlocks, you can also take part in the exploration without worrying about these barriers. We have developed a Library for the popular HuskyLens unit by DFRobot. Of course, you have to first buy the camera, but after that you will be enjoying the wonderful world of AI Vision and start creating your own projects.
First check out the writeup on our WIKI. The Library is developed 100% with MicroBlocks using the blocks to code each and every functionality; the same as the OLED Display Library. It is a testament to the power of the language and complicated projects you can develop with it.
You will find examples for every block in the library. Just connect your camera to a microcontroller with I2C support available to you (eg: Pico2040, micro:bit v2, etc.) and then drag and drop the various blocks to test the features. Once you get familiar with the working concepts, you are on your way to creating your own projects.
DFRobot Info page can be reached here.
MicroBlocks NEW Features
We are constantly working on improving the MicroBlocks environment, trying to make it more productive and easy to to use.
Here are a few new keyboard + mouse features introduced in the latest PILOT release:
Manipulating blocks with menus + mouse is OK, but sometimes using the keyboard is faster and more efficient.
- Control-drag is the same as "duplicate all"
- Shift-drag is the same as "extract block"
- Control-shift-drag is the same as "duplicate block"
- When you click on a block in the Scripting Area, you will see a trashcan icon appear in the Blocks Palette section of the IDE, This is a reminder for you that deletion of blocks is possible by dragging them to the Blocks Palette area.
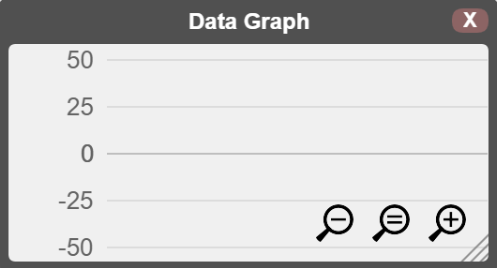
- GRAPH window now supports scaling of the y-Axis: When you try to plot values that are exceeding the display limits of the Graph window , you can use the new -- = + icons on the display to scale the graph.
Here are some tips to help you edit your projects more efficiently :
- You can copy and paste your blocks to the clipboard for moving them within the same project, or transferring them between projects. It certainly beats clicking on a script and scrolling the screen up or down till you reach the new location for it.
- Likewise, you can open multiple sessions of MicroBlocks in the browser, load your older projects into one, and copy paste sections of it to the new project - a good way of making use of the previously created functions etc.
- When you are copy / pasting sections of blocks that are referencing various Libraries, you do not have to worry about including them in your new project. MicroBlocks will automatically import all Libraries used by the blocks pasted and take care of defining all variables used.
- Use the -- = + icons on the Scripting Area to make the block display sizes smaller or larger, or return to the standard 100% size with the equal icon.
- When using the save picture of script option to take pictures of your projects, you do not have to constantly change the block sizes in the IDE to the desired picture size. Just use the set exported script scale option on the IDE R-click menu once and leave your block sizes at a suitable editing size. All your pictures will be at the selected size, independent of the display sizes you have set for the IDE.
Enjoy creating projects with MicroBlocks and don't forget to share them with our Community.
Re: Little animation effect
Great minds think alike!
In the OLED Demo Program, there is an AV Control Panel simulation with a similar display action.
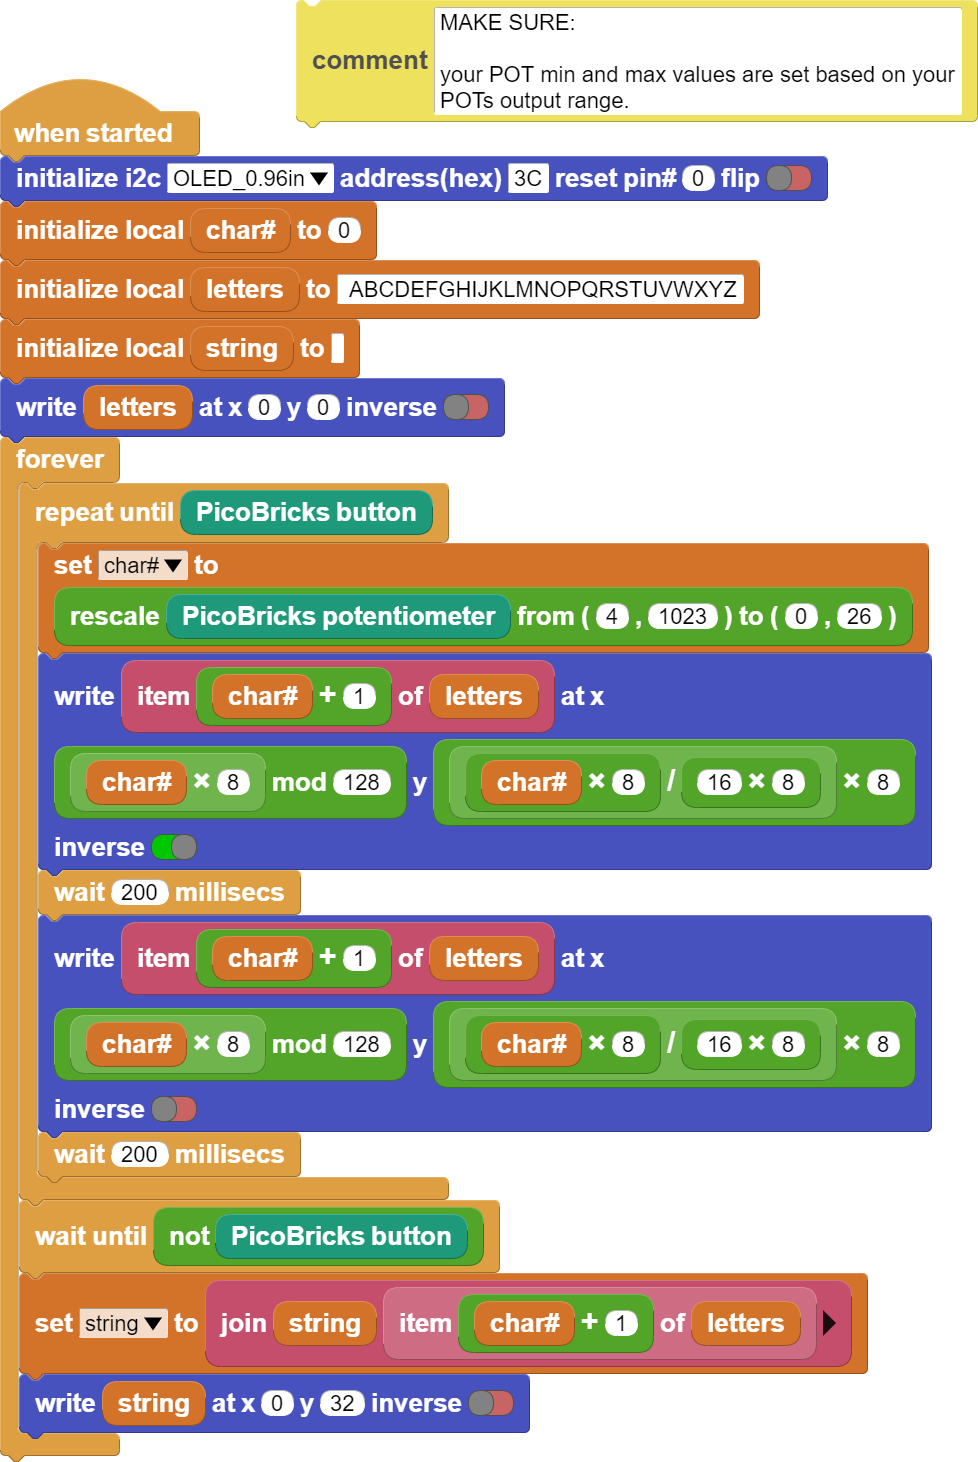
Re: Put text on the OLED with the potentiometer and button
Hi Peter,
Great fun project.
I could not resist fiddling with it to produce a slightly different version, keeping the spirit the same. Secret sauce is that OLED character matrix is 8x8.
Should be able to drag and drop it onto MB IDE.
Enjoy.
Remote Control with WIFI + UDP for MicroBlocks
The Pico-W version of the great Pico microcontroller provides us with the ability to use WIFI in our PicoBricks projects. The greatest part is that one can unplug the Pico in the PicoBricks kit and replace it with the Pico-W version. I believe there are plans for the new versions of the PicoBricks to include this new processor and do away with the unwieldy ESP01 WIFI module.
This gives us the opportunity to use MicroBlocks WIFI and UDP libraries in our projects to implement remote control. It not only improves our project's comms speeds from the Bluetooth's a few Mbps speeds to WIFI's several hundred Mbps, it eliminates all the headaches of using special libraries and BT idiosyncrasies. It also increases device connectivity from the BT's 10m range to WIFI's 100m range, and across the Internet.
I have written a tutorial on how to implement Remote Control with WIFI + UDP for MicroBlocks:
Very much in keeping with the portability of the MicroBlocks across many microcontrollers, the tutorial highlights same code-base running on five different models of microcontrollers, accompanied by an Android APP written in MIT APPInventor.
Users can send UDP messages between the devices and the Android phone in broadcast fashion or point to point, and exert control over the on-board LED in each microcontroller, as well as a simulated one on the Android phone APP.
The tutorial also demonstrates how to create your own WIFI HotSpot, in case the environment one is operating in lacks a commercial WIFI signal.
It is a simple way to integrate any of the microcontrollers with WIFI capability into your projects with minimal code and great flexibility and gain performance in the process as well..
Enjoy!
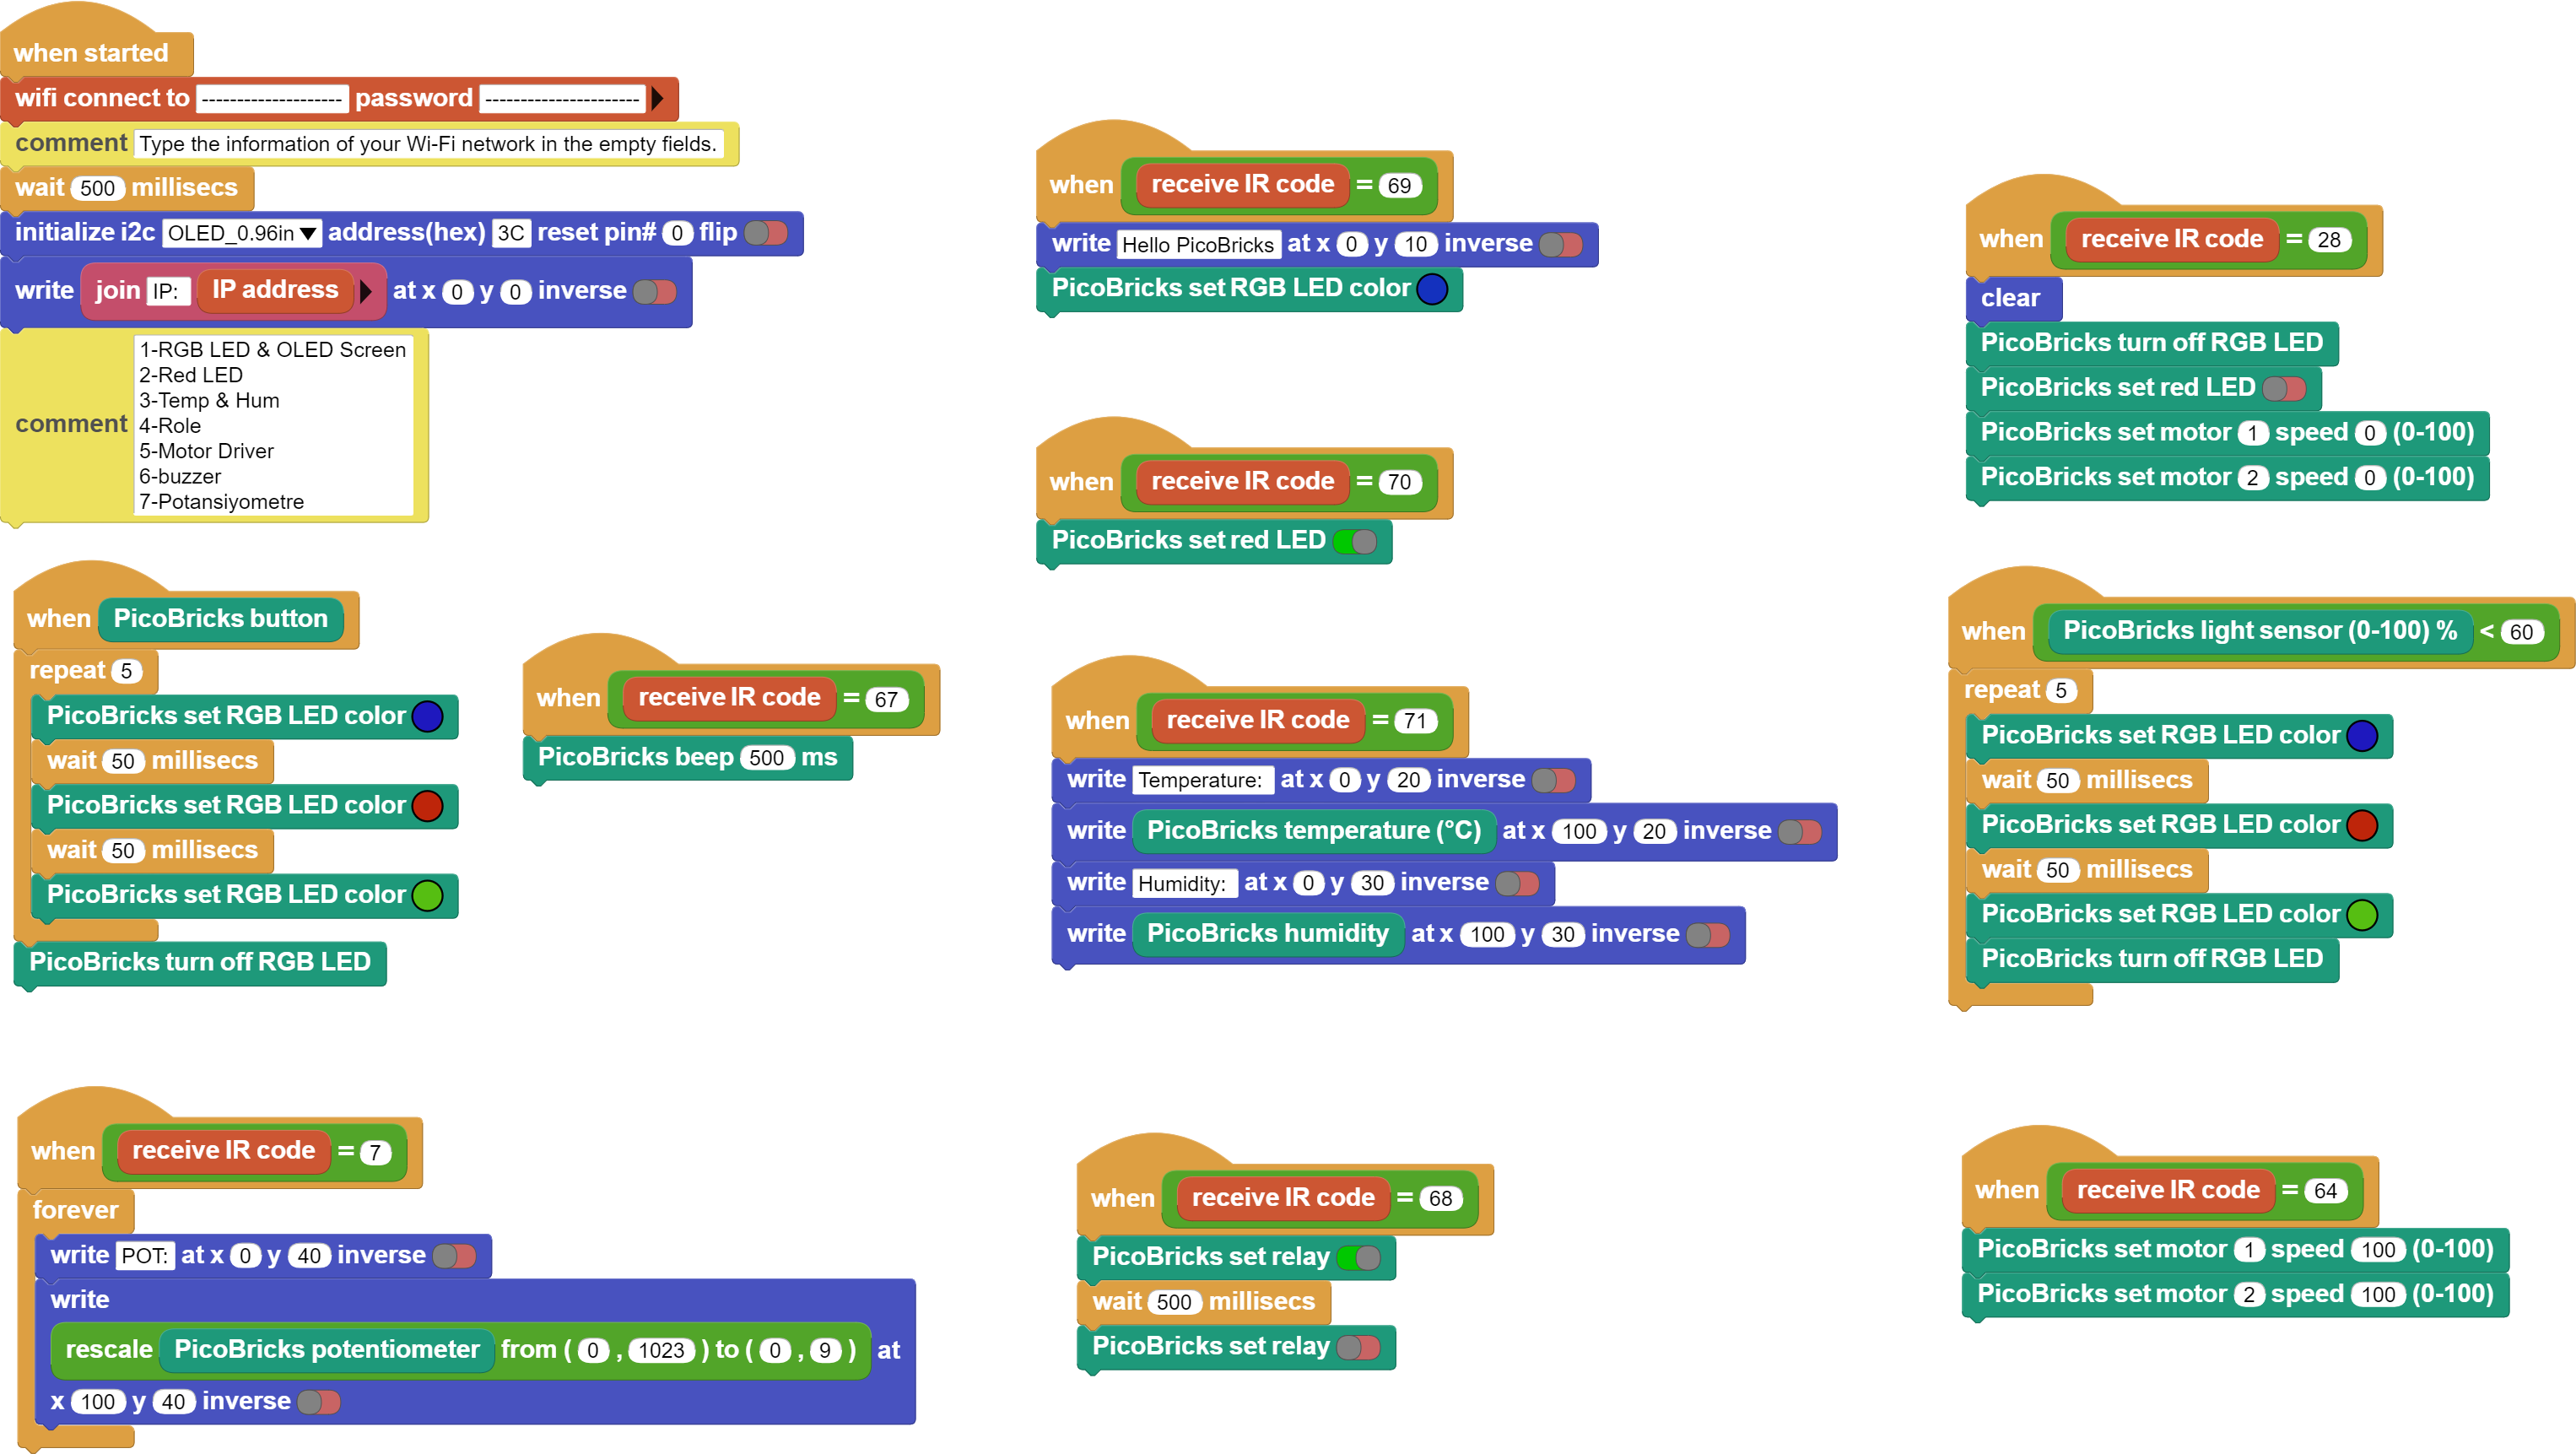
Pico W Test Code With PicoBricks 1.1 (MicroBlocks)
PicoBricks 1.1 Test Code (IR)
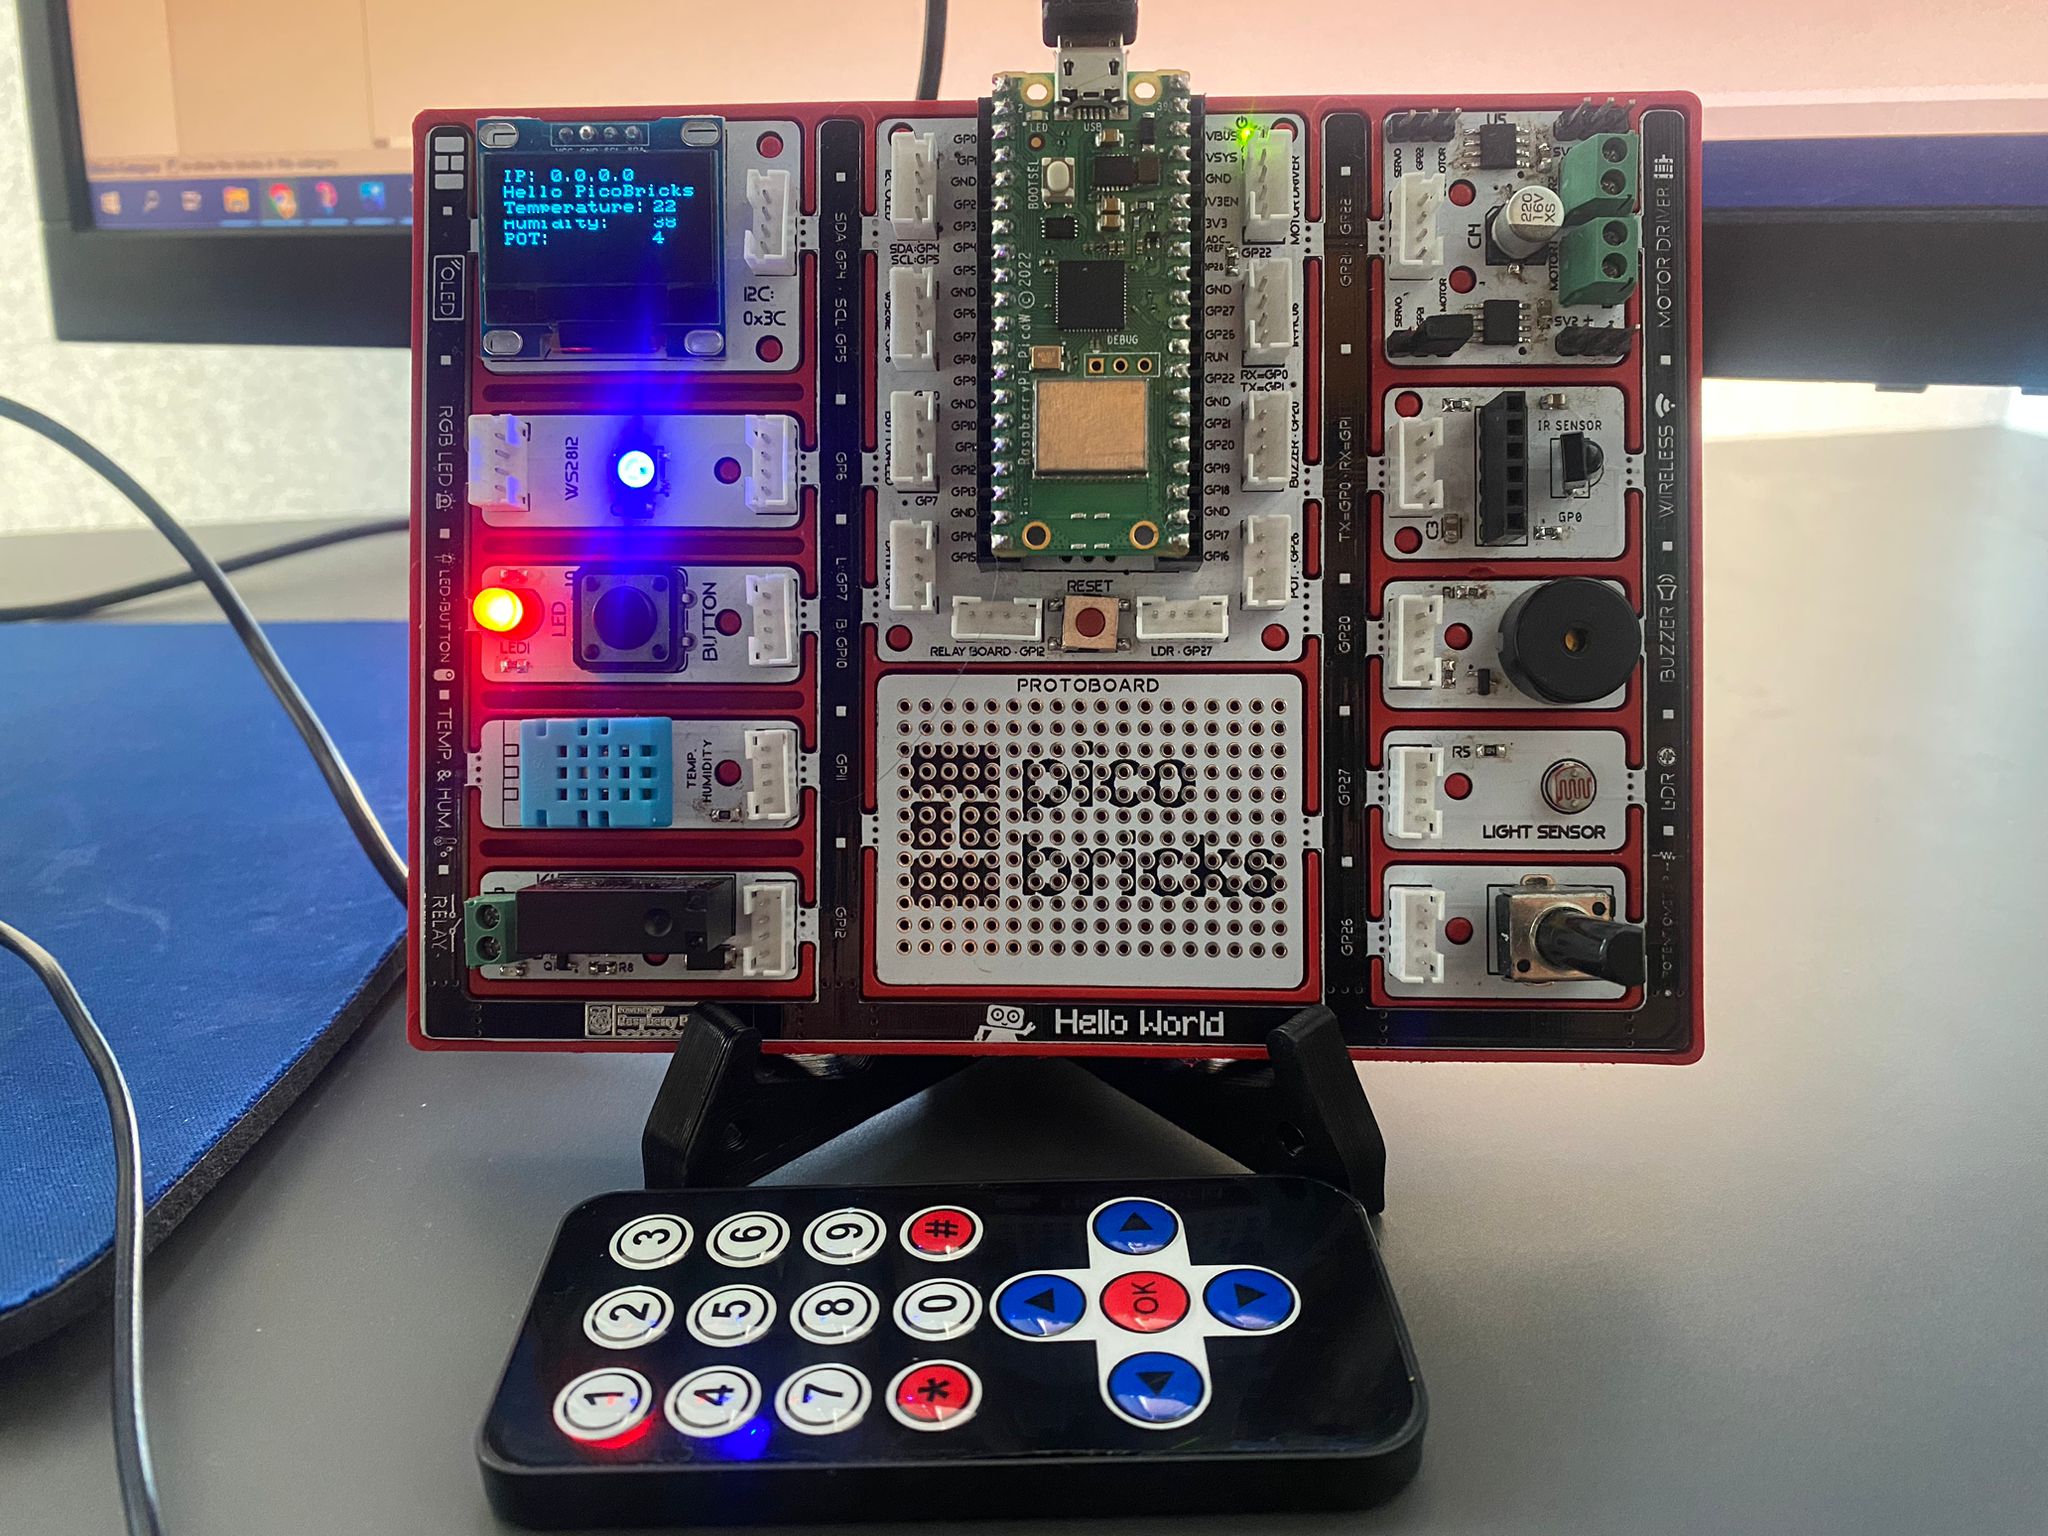
PicoBricks version 1.1 has an IR sensor, instead of an IoT module. 💪
You can use this test code written with MicroBlocks to test all modules included in this new version. With this test code, you can press the specified keys on the remote and see if the modules are working correctly.
The Keys:
1-RGB LED & OLED screen
2-Red LED
3-Temp & Hum
4-Relay
5-Motor Driver
6-Buzzer
7-Potentiometer
Just drag and drop it.
Have fun.💪
Testing the IR sensor on the latest PicoBricks
The latest PicoBricks has a Raspberry Pi Pico W. That is why it has an IR sensor instead of a WiFi slot.
To test your IR sensor with the remote you get with your Zero to Hero kit, you can use this script.
The broadcast block sends out the message content specified into the program context. All when received message blocks with the same message content will receive the message and act on it.
I added when received for the first 4 buttons only. But I guess you get the message how it works.
Have fun.
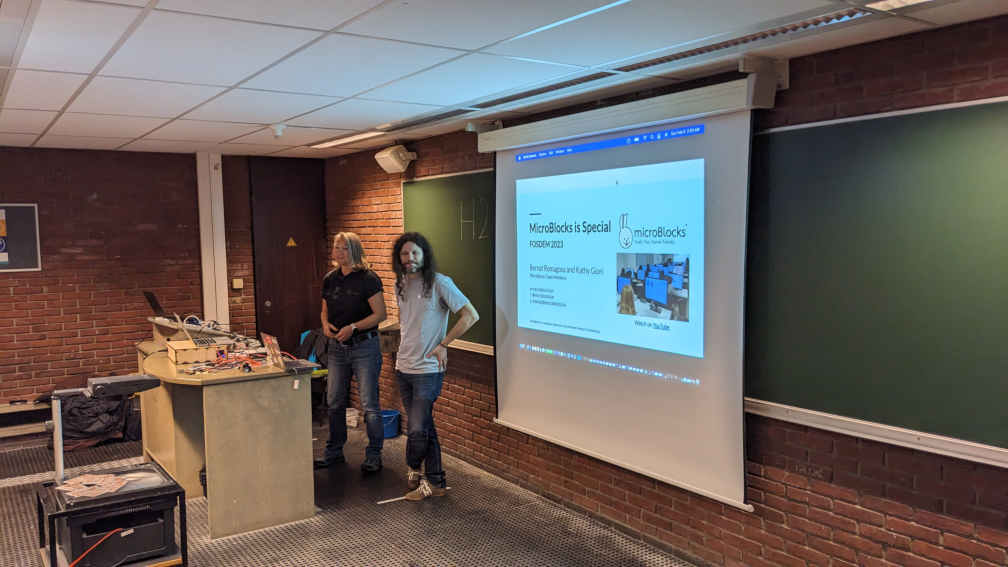
Re: FOSDEM 2023
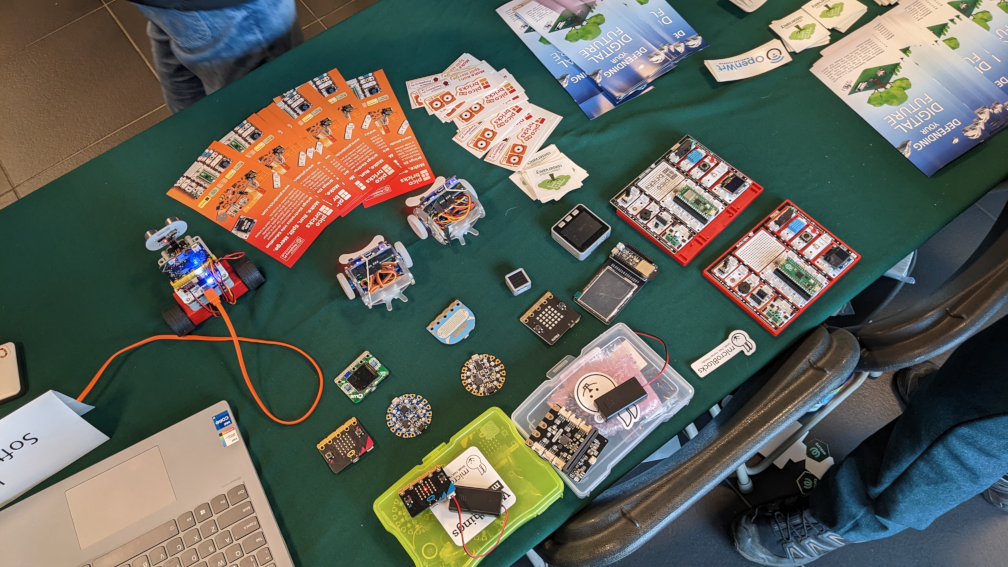
Kathy and Bernat gave a great presentation about MicroBlocks and also showed the PicoBricks. At the stand we had a lot of questions about the PicoBricks and where it could be ordered.
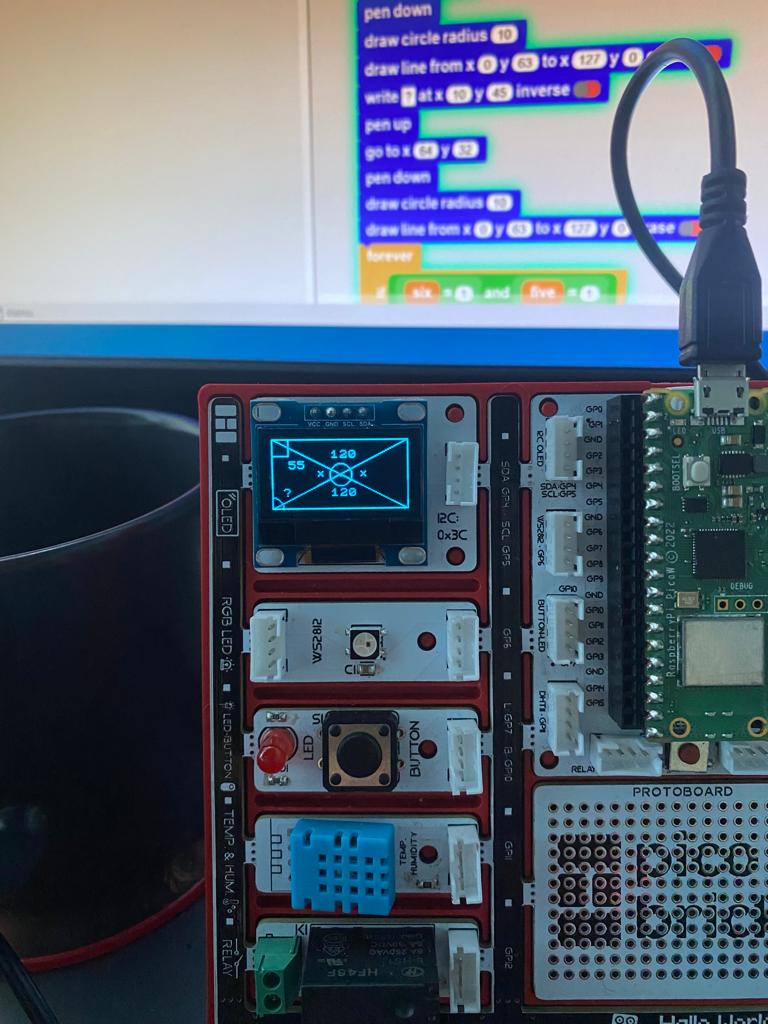
Geometry Question
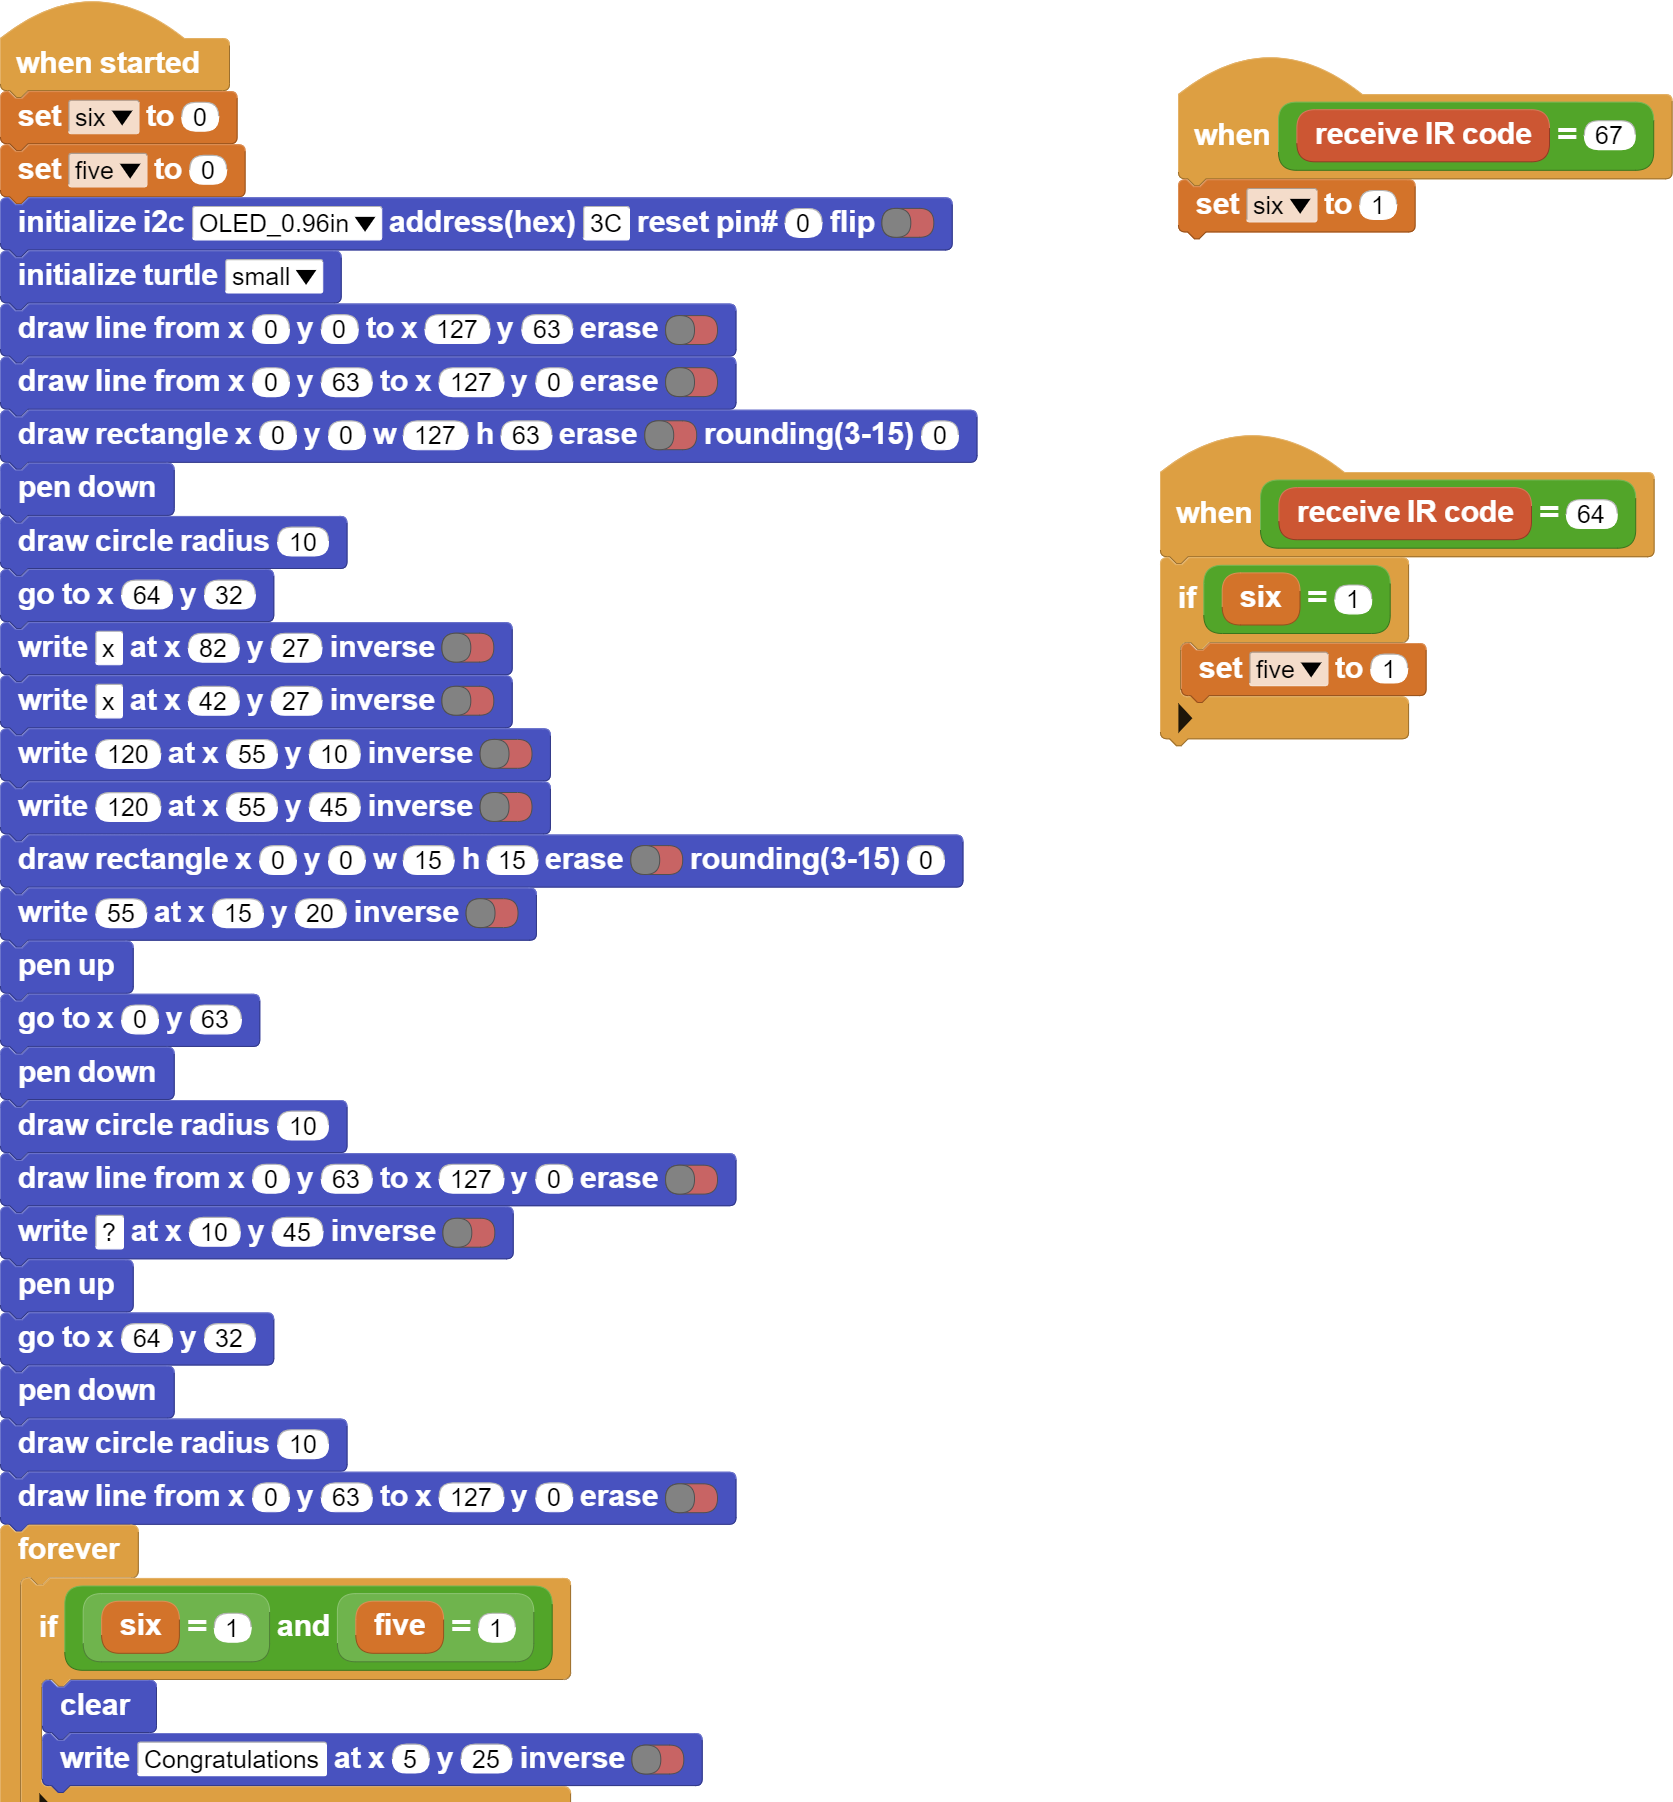
You can answer the geometry question on the OLED screen by using the IR controller.
The answer is in the code😉
